
Reverse & Rewind Effect Guide for CapCut Beginners
Here’s your step-by-step guide on how to use the rewind (reverse) effect in CapCut—whether you’re a desktop user or a mobile user, the normal method can be purely done on free version, but some of the alternatives will require getting CapCut Pro, which i believe is really worth the money as it comes with so many handy effects, transitions and other AI benefits that really improve the overall quality of your video.
If you generally want to learn about how to become a Pro with CapCut, please check out some of the other guides we have done here at the website.
How to Apply Reverse Effect
Here is our simple step-by-step guide on how to apply reverse and rewind effects to your video clips under CapCut. Note that things may change depending on Bytedance doing updates on the CapCut version, and perhaps in the future, there will be AI features that will be able to do the same as the ways it’s done now.
💻Desktop Guide
- Open CapCut and click “Create project”.
- Import your footage either by dragging and dropping it into the workspace or using the Import button.
- Drag your clip into the timeline.
- Select the clip and right-click and choose “edit”, then click the “Reverse” button. CapCut will process and reverse the clip.
- Optionally, you can apply “speed” changes, which makes it look rewinding if it goes faster.
📱On the Mobile App (iPhone & Android)
- Launch CapCut & Create a New Project
- Open the app and tap “New project”.
- Select the video from your gallery. Tap “Add” to load it into the editor.
- Find & Tap the Reverse Option
- Tap your video in the timeline to bring up editing tools along the bottom.
- Scroll right until you see the “Reverse” option. Tap it to reverse your clip
Alternative Methods and Text Templates
As broken down in the video above, there is also a “Reverse” effect that is under the pro version of CapCut, which gives a kinda nice loopy rewind effect that is suitable for art projects or perhaps music videos. But let’s say you are using text templates or other types of effects, as you may have noticed when you right-click them on the timeline, it shows that there isn’t an actual edit button, so to fix this, you need to do the following:
- Right-click the text template or effect and choose “Create Compound Clip“.
- Now the existing thing has been converted into any other footage you are importing to CapCut, but it loses its general functionalities, like if it were a text template, you no longer can edit this text out, you have to Ctrl + Z to reverse the action. Once it’s been transformed to a compound clip, you can simply right-click “edit” and “reverse” the clip just like instructed above.
- Alternatively, you can just merge all the footage you have on the timeline and create a compound clip again, and you don’t need to exclusively do the process box by box.
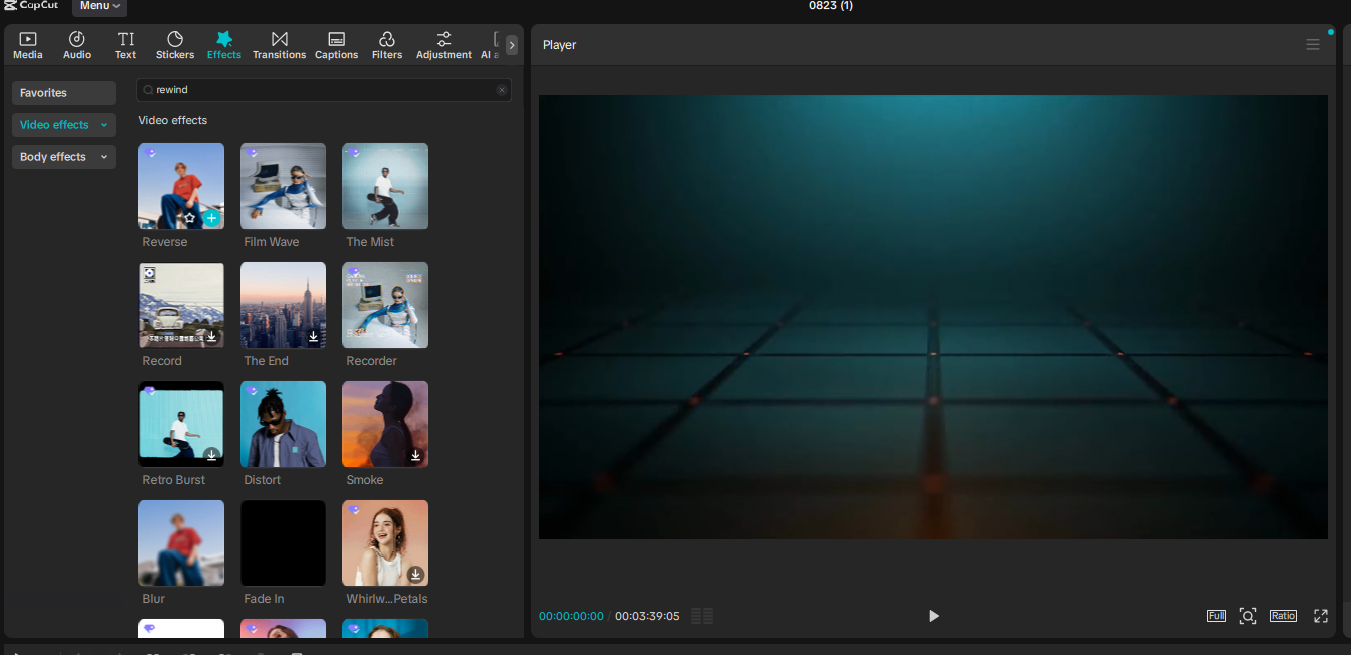
If you want classical VHS Glitch effect that creates that more older Rewind effect, you can search under effects the following; VHS Noise, B&W VHS, Broken VHS, Glitchy VHS, CCTV, Retro DV, Found Footage, VCR, Vintage CD, 80’s tape and others (Please note that these are CapCut Pro Features exclusively).


Backlinks
Loving the information on this site, you have done great job on the posts.